Start Receiving Tickets
Offering a variety of channels from where your customers can contact you grants them flexibility and the right to choose the best one for themselves. And, in order to make sure inquiries across all channels get addressed, it is essential to have a solution where all interactions come in one place.
Channels options to submit tickets
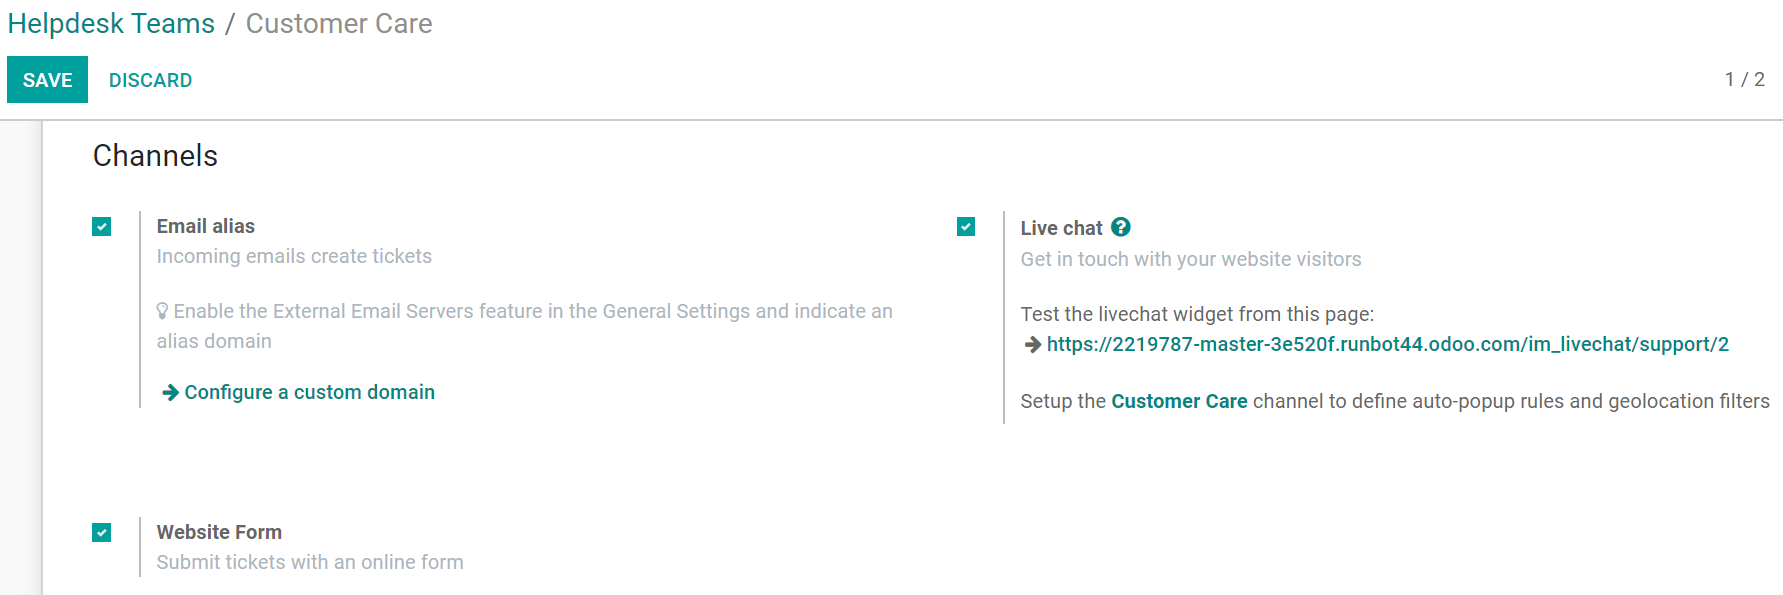
Go to Helpdesk --> Configuration --> Helpdesk Teams{.interpreted-text
role="menuselection"}, and enable the following features as you want
them to be available to your users.
 {.align-center}
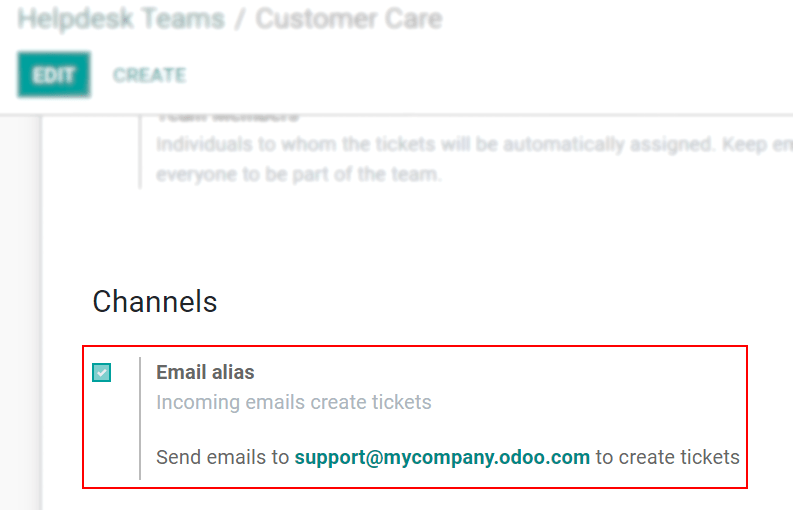
Email Alias
| Let your customers submit tickets by sending an email to your support email address. The subject line of the email becomes the title of the ticket and the content is shown in the Chatter. | Select Configure domain name to be redirected to Settings and, from there, enable External Email Servers to determine or change your Alias Domain.
 {.align-center
height="250px"}
::: note ::: title Note :::
Using your own email server is required to send and receive emails in Odoo Community and Enterprise. Online users benefit from a ready-to-use email server. :::
Website Form
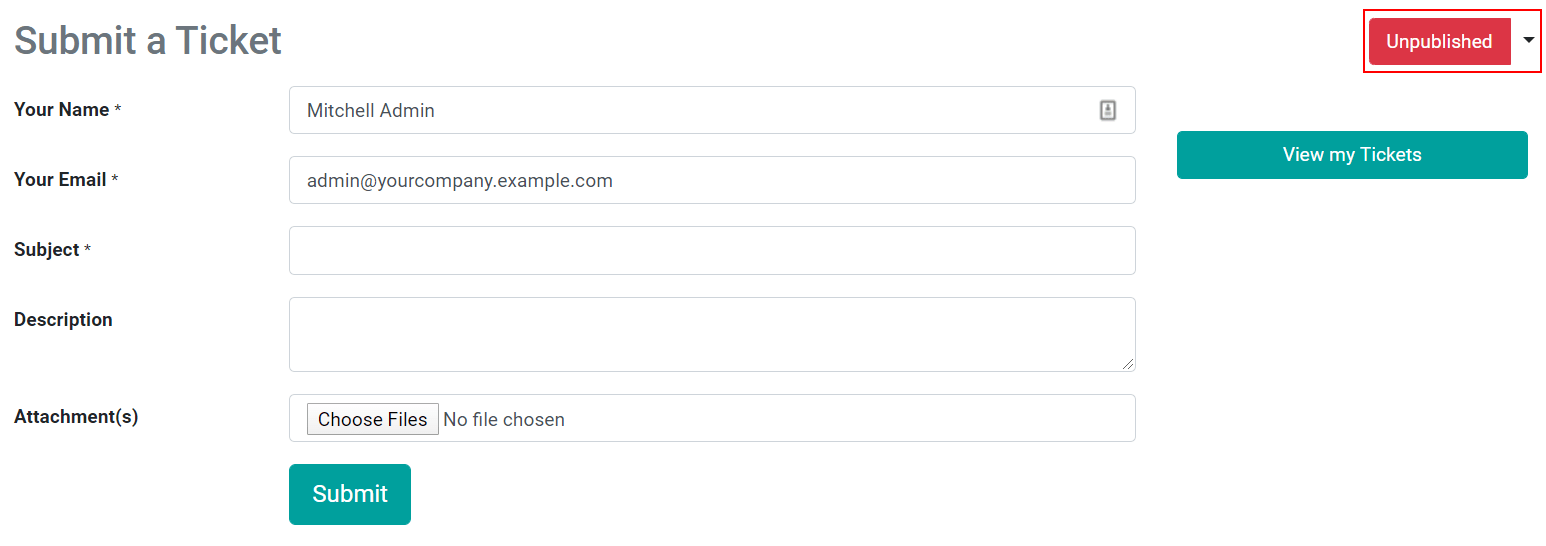
| Allow your customers to submit a ticket by filling in a form through your website. | Once the feature is activated, get redirected to your website by clicking on Go to Website.
 {.align-center}
From the website page customize the form as you like. Then, publish it by clicking on Unpublished.
 {.align-center}
Live Chat
| Through live interactions with your website visitors, helpdesk tickets
can be instantly created and redirected to the right person.
| Click on your helpdesk team\'s name - for the example below: Customer
Care - and
set up your channel </applications/websites/livechat/overview/get_started>{.interpreted-text
role="doc"}.
 {.align-center}
Now, your operators can create tickets by using the
command </applications/websites/livechat/overview/responses>{.interpreted-text
role="doc"} /helpdesk (subject_of_ticket).
Prioritize tickets
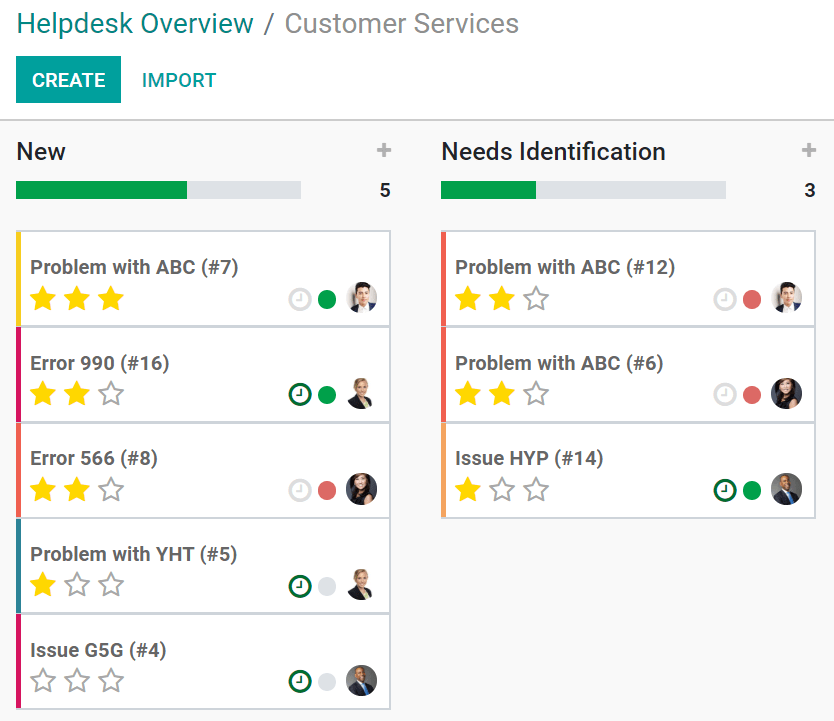
Use the stars to prioritize your tickets. The most urgent ones appear at the top of your list on the Kanban view.
- 1 star = Low priority
- 2 stars = High priority
- 3 stars = Urgent
 {.align-center
height="330px"}
::: seealso
- sla{.interpreted-text role="doc"} -
../advanced/close_tickets{.interpreted-text role="doc"} -
/applications/productivity/discuss/advanced/email_servers{.interpreted-text
role="doc"}
:::