Invoice Time Spent on Tickets (Prepaid Support Services)
Have the option to work with prepaid support services, meaning that a sales order and a corresponding invoice are issued and, once the service is done, you can deduct the time spent. Odoo allows it to happen because the applications are fully integrated, resulting in faster responses to your customer needs.
Set up
Step 1: Set up a helpdesk team
| Go to
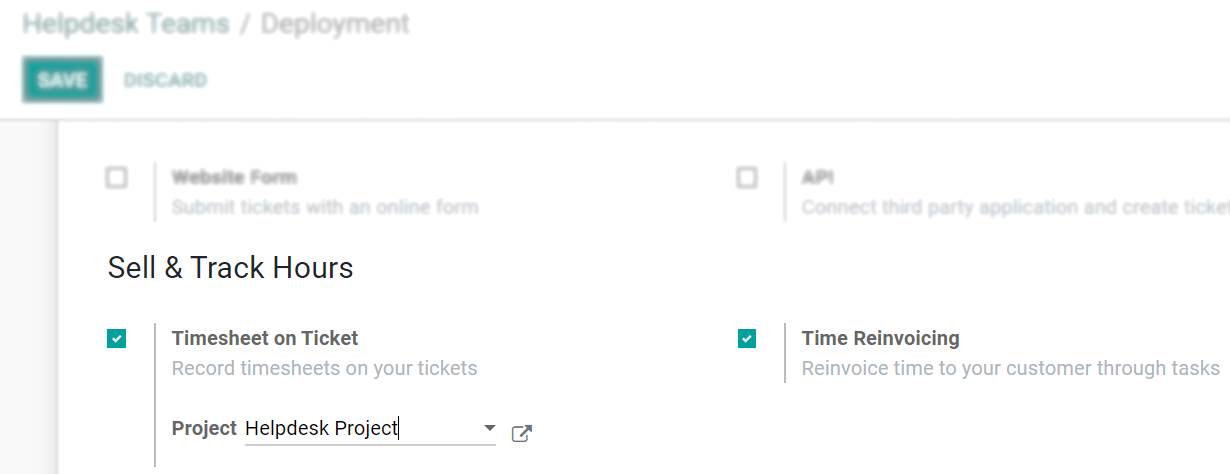
Helpdesk --> Configuration --> Helpdesk Teams{.interpreted-text
role="menuselection"}, create or edit an existing team, and enable
Timesheet on Ticket and Time Reinvoicing.
| Select or create a project under Timesheet on Ticket. The
selected/created is the one at which employees timesheet on by
default. However, it can be ultimately modified on each ticket.
 {.align-center}
Step 2: Set up a service
| Go to Sales --> Configuration --> Settings{.interpreted-text
role="menuselection"} and enable Units of Measure to optionally be
able to choose hours (for example) as the unit of measure of your
service.
| Then, go to Sales --> Products --> Products{.interpreted-text
role="menuselection"}, create or edit an existing one, and set its
Product Type as Service.
 {.align-center}
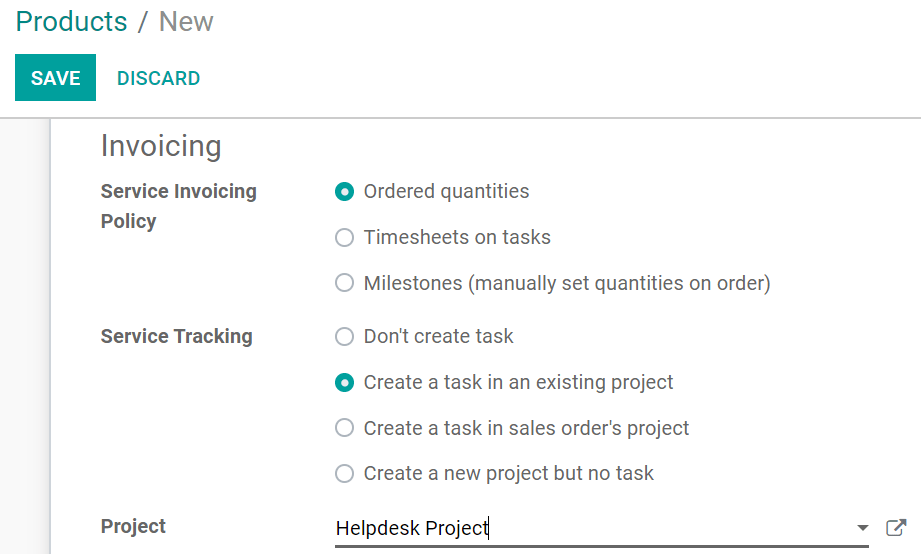
Now, select the invoicing management you would like to have under the Sales tab. We recommend the following configuration:
 {.align-center}
This configuration ensures that the customer is invoiced by the number of hours predicted in the sales order, meaning that less or extra hours recorded are not taken into account. It also ensures that every time a sales order is confirmed, a new task is created under the right project, automating the process.
::: tip ::: title Tip :::
We recommend setting up a specific project, as it was done for this flow example. The important thing to remember is that the sales order item needs to be set on the corresponding project or task, in order to reinvoice the time spent on a ticket. :::
Prevision an invoice and record time
Step 1: Place an order
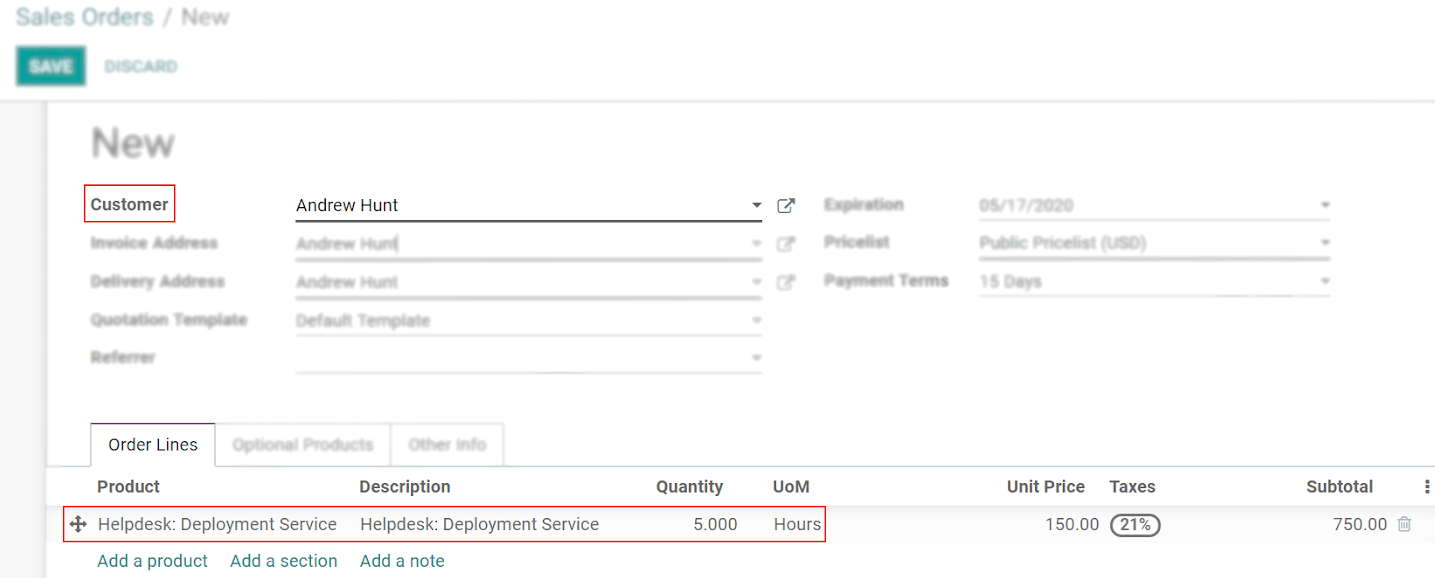
Go to Sales --> Orders --> Orders{.interpreted-text
role="menuselection"} and create one for the helpdesk service product
you have previously set up, with the customer who needs the ticket to be
opened. Set the number of hours needed to assist the customer and
Confirm the order.
 {.align-center}
Step 2: Invoice the customer
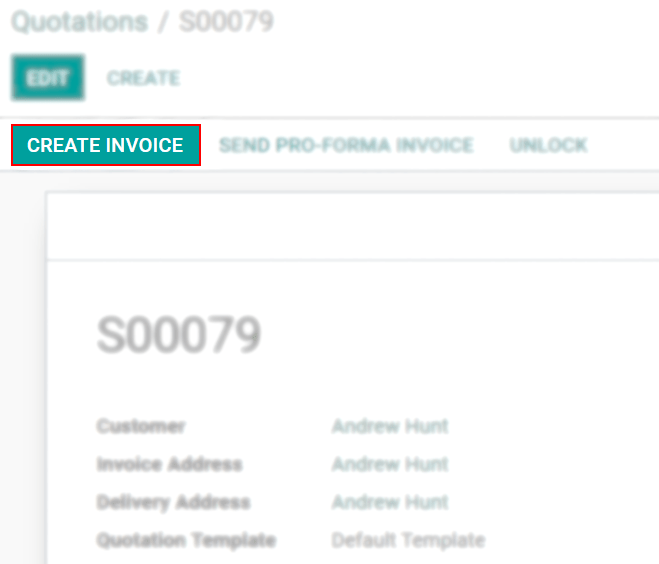
In Sales, select the respective sales order to Create Invoice.
 {.align-center
height="330px"}
Step 3: Link the task to the ticket
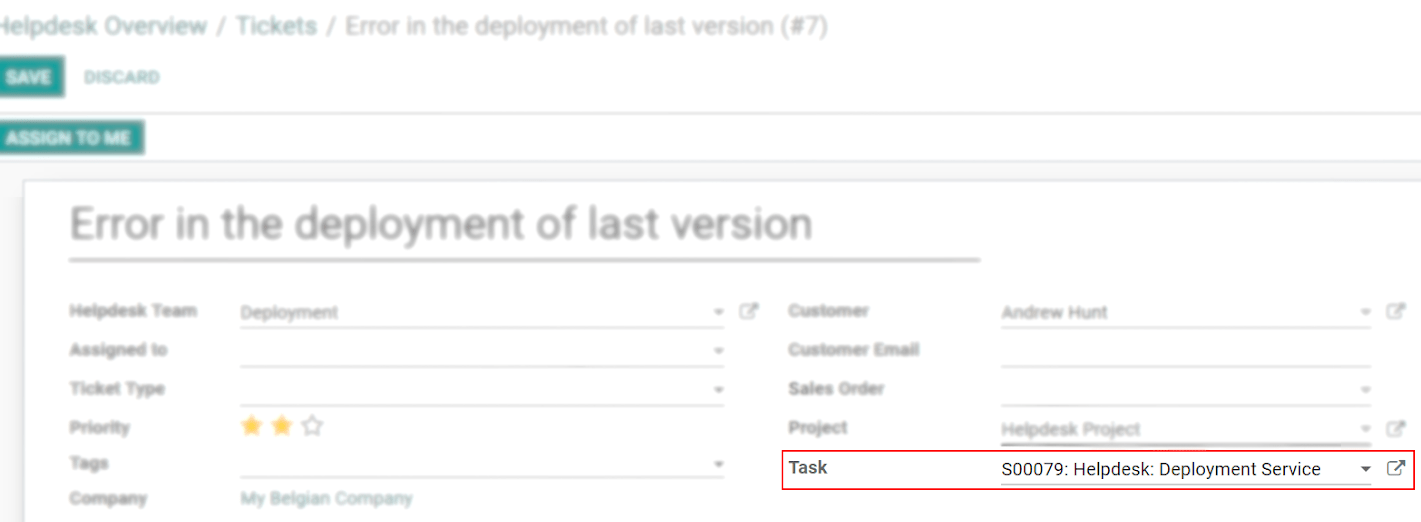
Now, in Helpdesk, create or edit the respective ticket and link it to the task created by the confirmation of the sales order.
 {.align-center}
Step 4: Record the time spent
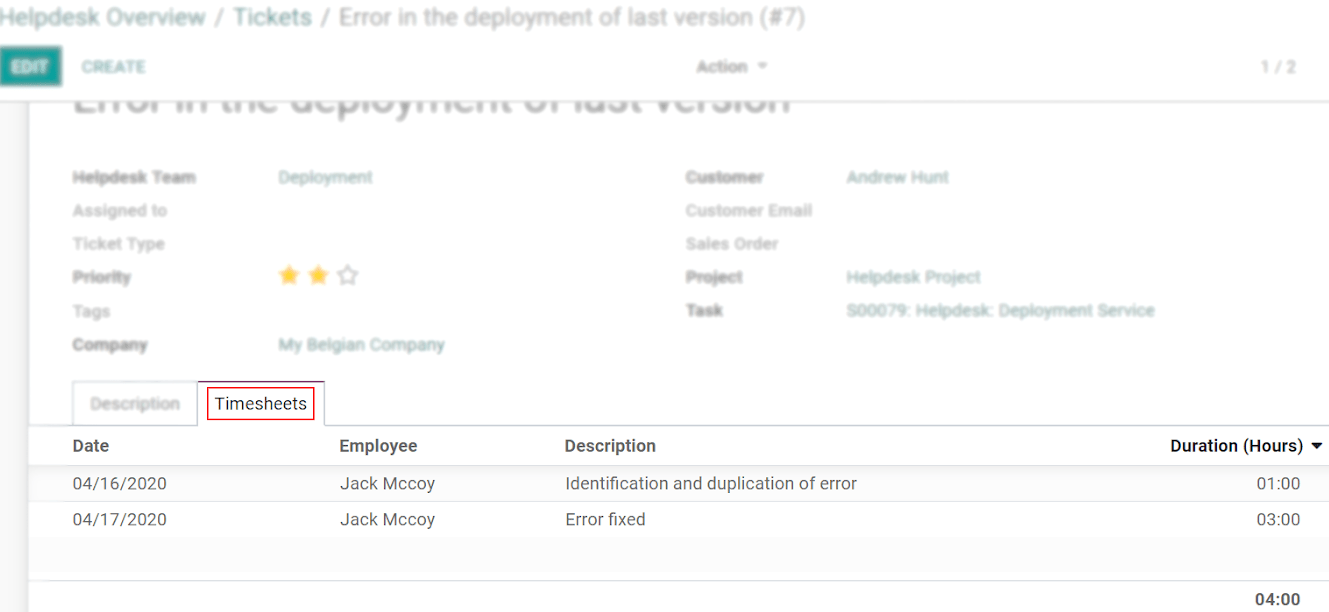
Still on the respective helpdesk ticket, record the hours performed under the Timesheets tab.
 {.align-center}
Note that the hours recorded on the ticket form are shown on the Delivered column in the sales order.
 {.align-center}
::: tip ::: title Tip :::
Hours recorded on the ticket are automatically shown in Timesheets and on the dedicated task. :::
::: seealso
- reinvoice_from_project{.interpreted-text role="doc"} -
/applications/inventory_and_mrp/inventory/management/products/uom{.interpreted-text
role="doc"}
:::